This article is specifically for setting up a Lumin Smart Panel with Ethernet using the Lumin Smart app on both iOS (Apple) and Android mobile devices. To complete Lumin Smart Panel setup for WiFi connectivity only on Apple iPhones and iPads or Android mobile devices, see:
- iOS (Apple) – WiFi Setup Process for a Lumin Smart Panel
- Android – WiFi Setup Process for a Lumin Smart Panel
Setup Instructions
| 1. Run an Ethernet cable between the Lumin Smart Panel’s Ethernet Port and a LAN port on the router. | |
| 2. Connect your mobile device to the WiFi network provided by the same router the Lumin Smart Panel is plugged in to. | |
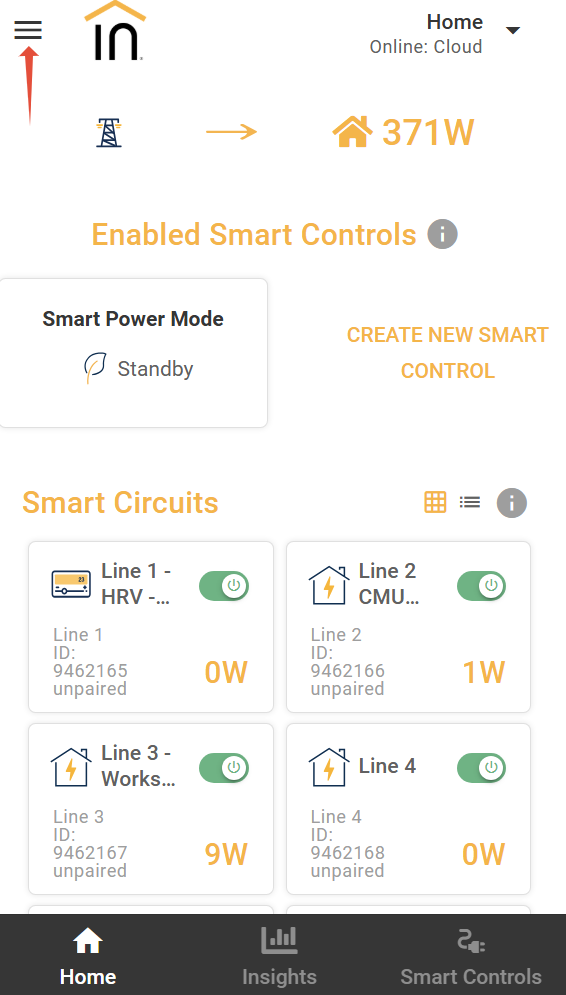
| 3. Open the Lumin app and select the menu icon in the upper left corner. |  |
| 4. Choose Set Up. |  |
5. Complete the listed steps on the Before Connecting screen.
|  |
| 6. The Discover Lumin Smart Panels screen will appear. |  |
| 7. Select the discovered Lumin Smart Panel with the ethernet icon and follow the prompts. If using an Android device, the app will also discover a second instance of the same Lumin Smart Panel with a WiFi icon next to it. Select the ethernet instance and ignore the WiFi instance. |  |
